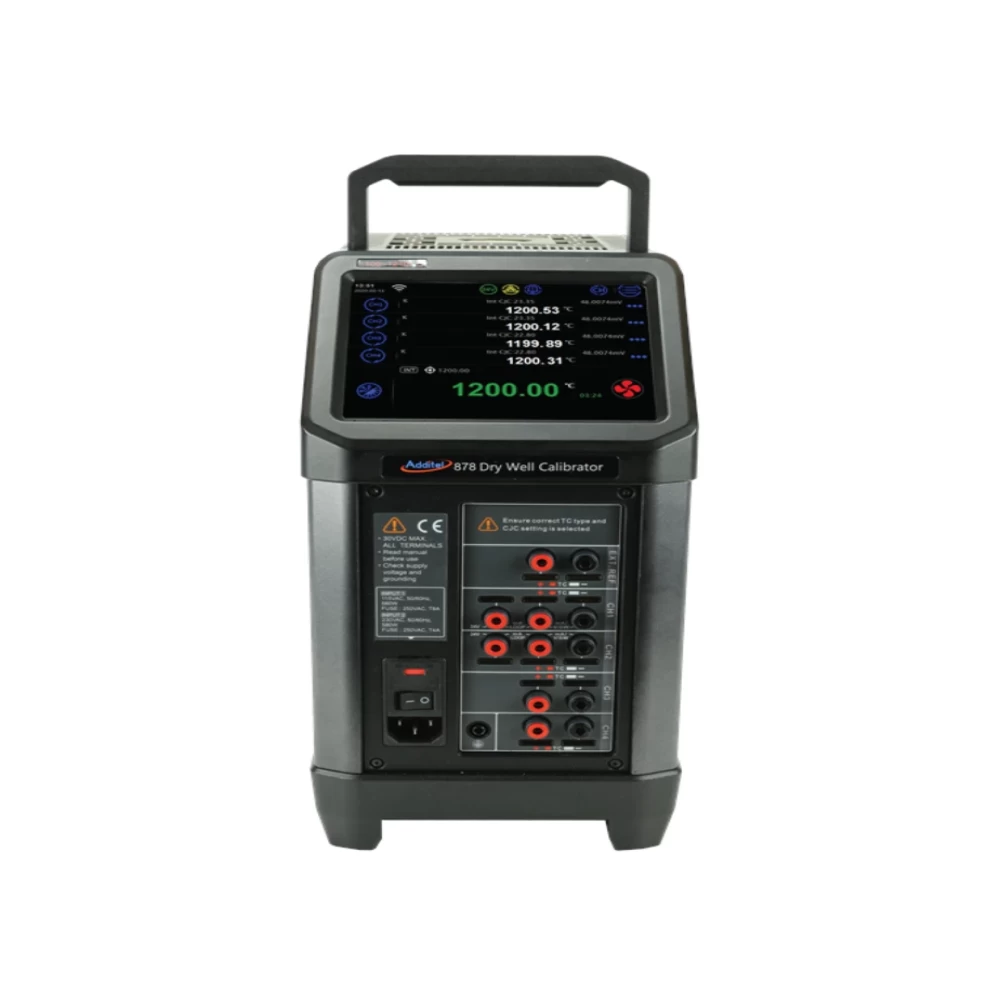
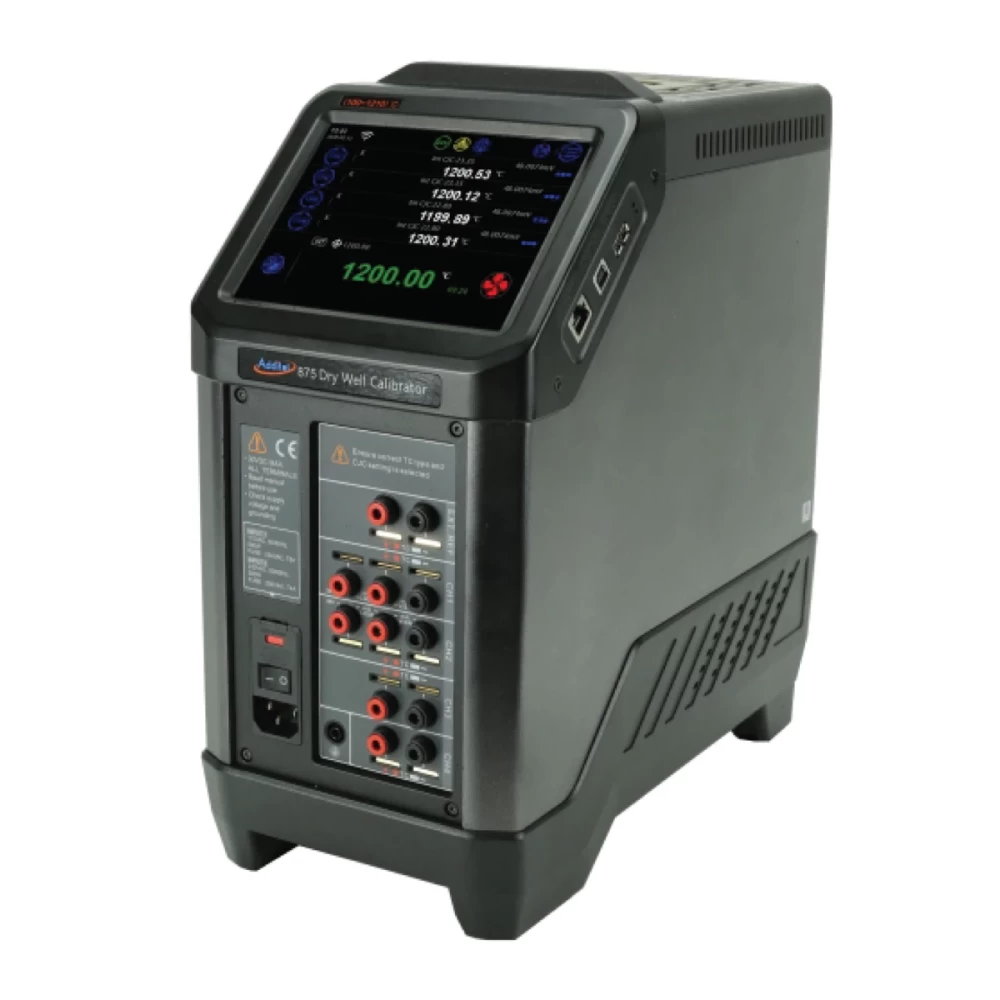
Additel 875-155
• Temperature range from -40°C to 155°C
• Portable,rugged, and quick to temperature
• Metrology-level performance in stability, uniformity,accuracy and loading effect
• Dual-zone control
• Full HART field communicator
• Process calibrator option provides a multi-channel readout for a reference thermometer,RTDs and TCs,task documentation, and HART Communication
• Color touch screen display
• Choose your own range option
• Set point control by reference
• Self-calibration feature
• ISO 17025-accredited calibration w/data included
If you are serious about portable temperature calibration tools, then you know a good dry well calibrator is more than just a stable heat source. The Additel 875 Series Dry Well Calibrators combine excellent performance in stability, radial and axial uniformity. And loading with speed, ruggedness and portability. But we don’t stop there! The Process Calibrator option adds the capabilities of a three-channel thermometer readout and a documenting process calibrator. We’ve also incorporated a unique option to select your own temperature range within the range of the model selected. We’re calling this the CYOR option or Choose Your Own Range option. When you purchase the CYOR option, you pick the upper and lower temperature range needed and we calibrate and optimize the dry well’s performance over your selected range. Each unit has a color touch screen display, dual-zone control, and much more. You are just going to love these new dry wells!
Process Calibrator Option
Each model offer has a Process Calibrator (PC) option. This process calibrator option combines the many features found in a fully functional HART documenting process calibrator with the temperature dry well. This option includes the ability to measure a reference PRT and two devices under test channels which can measure, mA, voltage, switch, RTD or thermocouple. In addition to these measurement functions, this calibrator has full documenting capability of creating tasks, saving as found and as left results, as well as reading, configuring and calibrating HART capable transmitters. The snap shot feature allows you to capture all information displayed on the screen with the push of a button. This optional add-on allows for data logging of all channels on an auto step function and a ramp function. By utilizing the reference PRT, you can select to control to the dry well set point using the internal sensor or the external reference PRT.
Self Calibration
We believe using an external reference probe as your standard is the best way to perform your temperature calibration. But we also recognize this method is not always necessary or convenient and depending on the application, using the internal control sensor would be preferred. Traditionally, the internal control sensor has a wide accuracy which can largely be contributed to its long-term drift. We’ve built-in a self calibration feature allowing you to run an automated calibration of the internal control sensor using your external reference. With literally a few selections the calibration will run automatically giving you a fresh, traceable calibration of the control sensor which will improve its accuracy as you will not have to account for its long term drift when used as the reference.
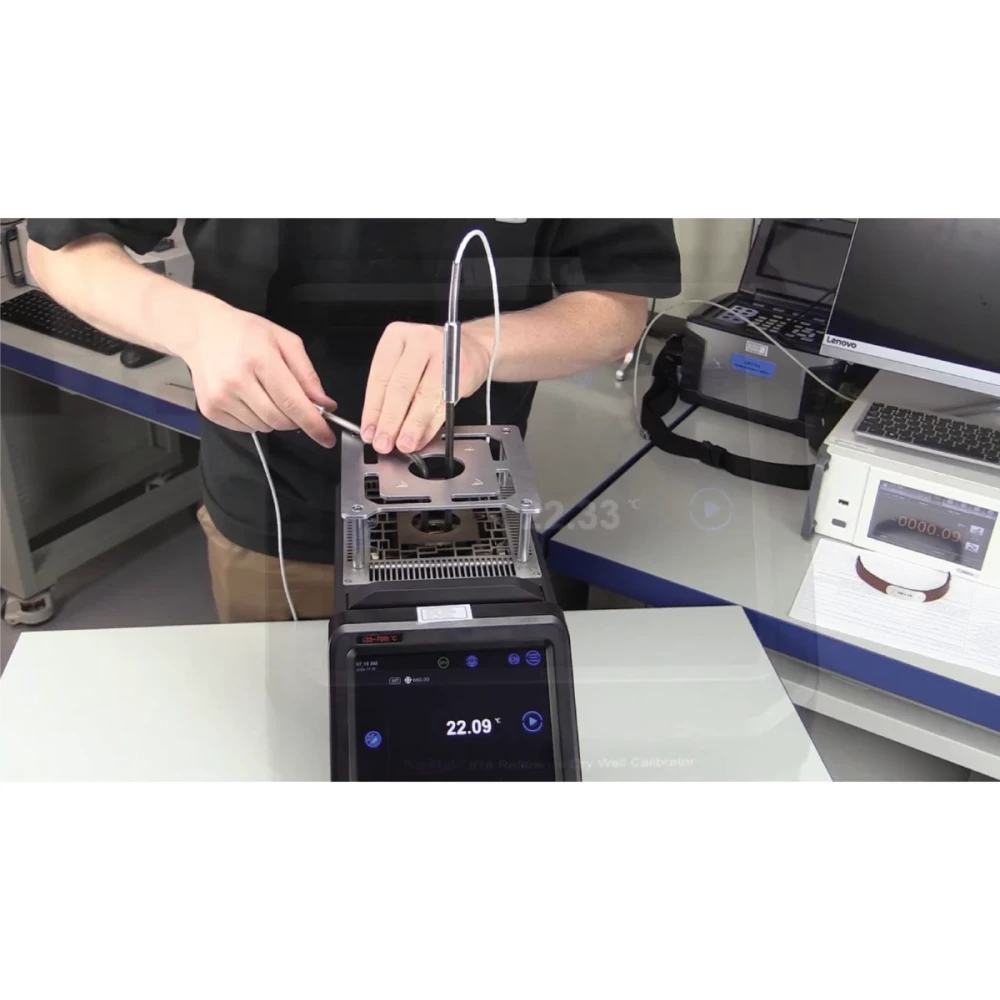
Short Probe Kit
The Additel 110 series short probe calibration kit is designed to help users of our ADT875-155 (-40°C dry well) calibrate temperature probes and transmitters with short probe lengths. This all-inclusive kit comes with everything needed to perform more accurate and reliable calibration for those challenging short probes. Choose between our metric or imperial kit to fit your needs. For more information, please watch our instructional short probe video found at www.additel.com


|
Specification |
875 Display / Picture (Image 1) |
875 Display / Picture (Image 2) |
|
Task |
 |
|
|
mA Measurement |
 |
|
|
V Measurement |
 |
|
|
Auto Step |
 |
 |
|
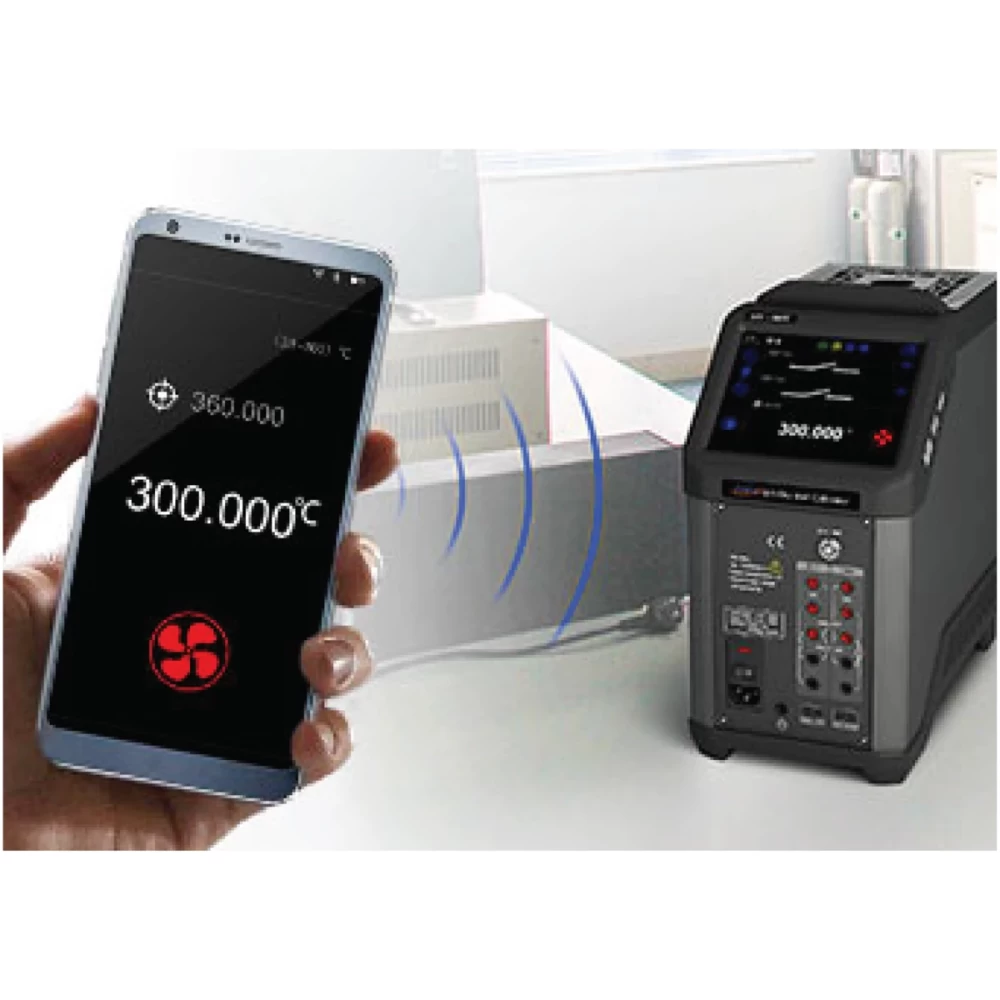
Remote Control |
 |
 |
|
Data Logging |
 |
 |
|
Stability Indicator |
 |
|
|
Connection Instruction |
 |
|
|
PRT Test (External Reference) |
 |
 |
|
RTD Test |
 |
 |
|
TC Test |
 |
 |
|
Transmitter Test |
 |
 |
|
Switch Test |
 |
 |
|
Base Unit Dry Well Specifications |
|||
|
Specification |
875-155 |
875-350 |
875-660 |
|
Temperature Range at 23°C |
-40°C to 155°C |
33°C to 350°C |
33°C to 660°C |
|
Display Accuracy |
±0.18°C at Full Range |
±0.2°C at Full Range |
±0.3°C at 33°C |
|
±0.3°C at 420°C |
|||
|
±0.5°C at 660°C |
|||
|
Stability (30 min) |
±0.01°C at Full Range |
±0.02°C at Full Range |
±0.02°C at 33°C |
|
±0.03°C at 50°C |
|||
|
±0.04°C at 420°C |
|||
|
±0.04°C at 660°C |
|||
|
Axial Uniformity at 60 mm (2.4 in) |
±0.07°C at Full Range |
±0.04°C at 33°C |
±0.05°C at 33°C |
|
±0.1°C at 200°C |
±0.3°C at 420°C |
||
|
±0.2°C at 350°C |
±0.5°C at 660°C |
||
|
Radial Uniformity |
±0.01°C at Full Range |
±0.01°C at 33°C |
±0.02°C at 33°C |
|
±0.015°C at 200°C |
±0.05°C at 420°C |
||
|
±0.02°C at 350°C |
±0.1°C at 660°C |
||
|
Loading Effect |
±0.1°C (Display Sensor) |
±0.15°C (Display Sensor) |
±0.15°C (Display Sensor) |
|
±0.02°C (External Sensor) |
±0.015°C (External Sensor) |
±0.035°C (External Sensor) |
|
|
Hysteresis (Display Sensor) |
0.025°C |
0.03°C |
0.1°C |
|
Environmental Conditions |
8°C to 38°C guaranteed accuracy |
||
|
|
0°C to 50°C, 0% to 90% RH non-condensing, 3000 M altitude for normal operation |
||
|
Storage Conditions |
-20°C to 60°C |
||
|
IP Rating |
IP20 |
||
|
Immersion Depth |
145 mm (5.70 in) |
150 mm(5.90 in) |
|
|
Insert OD |
25.8 mm (1.02 in) |
24.8 mm (0.98 in) |
|
|
Heating Time |
13 min: -40°C to 155°C |
10 min: 33°C to 350°C |
15 min: 33°C to 660°C |
|
|
5 min: -40°C to 23°C |
||
|
|
8 min: 23°C to 155°C |
||
|
Cooling Time |
28 min: 155°C to -40°C |
15 min: 350°C to 100°C |
23 min: 660°C to 100°C |
|
|
8 min: 155°C to 23°C |
10 min: 100°C to 50°C |
12 min: 100°C to 50°C |
|
|
20 min: 23°C to -40°C |
10 min: 50°C to 33°C |
12 min: 50°C to 33°C |
|
Typical Time to Stability |
10 min |
||
|
Resolution |
0.01°C |
||
|
Units |
°C, °F, and K |
||
|
Display |
6.5 in (165 mm) color touch screen |
||
|
Size (H x W x D) |
320 x 170 x 330 mm (12.6 x 6.7 x 13.0 in) |
||
|
Weight |
9.9 kg (21.8 lbs) |
8.2 kg (18.1 lbs) |
|
|
Power Requirements |
90-254 VAC, 45-65 Hz, 580 W |
90-254 VAC, 45-65 Hz, 1200 W |
|
|
Mechanical Testing |
Vibration: 2 g (10-500 Hz), 30 min for 2 sides |
||
|
|
Impact: 4 g three times |
||
|
|
Drop test: 500 mm (19.6 in) |
||
|
Communication |
USB A, USB B, RJ45, WiFi, Bluetooth |
||
|
Localization |
English, Chinese, Japanese, Russian, German, French, Italian, and Spanish |
||
|
Warranty |
1 year |
||
|
Input Specifications (Process Calibrator [PC] Option) |
|
|
Specification |
Description |
|
Readout Accuracy for 100 ohm PRT (Probe Accuracy Not Included) |
±0.009°C at -40°C |
|
±0.010°C at 0°C |
|
|
±0.012°C at 50°C |
|
|
±0.017°C at 155°C |
|
|
±0.019°C at 200°C |
|
|
±0.026°C at 350°C |
|
|
±0.030°C at 420°C |
|
|
±0.042°C at 660°C |
|
|
Readout Resolution |
0.5 mΩ |
|
Reference Resistance Range |
0Ω to 400Ω |
|
Reference Resistance Accuracy |
0Ω to 50Ω: 0.002Ω |
|
50Ω to 400Ω: 0.008% RD |
|
|
Reference Characterizations |
ITS-90, CVD, IEC-751, Resistance |
|
Reference Measurement Capability |
4-wire PRT |
|
Reference Probe Connection |
6-pin lemo smart connector |
|
RTD Channels |
2 |
|
RTD Measurement Accuracy (excl sensor) Compliance |
0Ω to 25Ω: 0.002Ω |
|
25Ω to 400Ω: 0.004% RD |
|
|
400Ω to 4K Ω: 0.008% RD |
|
|
RTD Measurement Resolution |
0Ω to 400Ω: 1 mΩ |
|
400Ω to 4K Ω: 0.01Ω |
|
|
RTD Measurement Resistance Range |
0Ω to 4KΩ |
|
RTD Characterizations |
PT10, PT25, PT50, PT100, PT200, PT500, PT1000, CU10, CU50, CU100, NI100, NI120 |
|
RTD Connection |
Four 4 mm input jacks |
|
RTD Channels |
2 channels. Both accept 2, 3, or 4-wire RTDs |
|
TC Channel |
2 |
|
TC Measurement Channels |
Mini TC terminals: Accepting S, R, K, B, N, E, J, T, C, D, G, L, and U |
|
TC Measurement Accuracy (excl sensor) |
Type K: ±0.13°C at 0°C ±0.15°C at 155°C ±0.18°C at 350°C ±0.24°C at 660°C |
|
TC Range |
–75 mV to 75 mV |
|
TC Resolution |
0.0001 mV, Input Impedance >100 MΩ |
|
TC Voltage Accuracy |
0.02% RD + 5 μV |
|
Internal CJC Accuracy |
±0.35°C (ambient from 0°C to 50°C) |
|
Current Range |
–30 mA to 30 mA |
|
Current Accuracy |
0.02% RD + 2 μA |
|
Current Resolution |
0.0001 mA, Input Impedance: < 10Ω |
|
Voltage Ranges |
–12 V to 12 V and –30 V to 30 V |
|
Voltage Accuracy |
±0.02% RD + 2 mV |
|
Voltage Resolution |
0.001 V; Input impedance: > 1MΩ |
|
Switch Test |
Mechanical or Electrical |
|
DC 24V Output |
24V ±10%, MAX60 mA |
|
Hart Communicator |
Read, configure and calibrate HART devices - DD files updated periodically Optional - (order ADT875PC) |
|
Documentation |
Up to 1,000 tasks which store up to 10 results each containing as found and as left data. Snap shot feature allows for screen captures. Records auto step and ramp functions. |
|
Temperature Coefficient 0°C to 8°C and 38°C to 50°C |
ADT875 (PC)-155: ±0.005°C/°C |
|
ADT875 (PC)-350/660: ±0.01°C/°C |
|
|
Ref Readout: ±5 ppm FS/°C |
|
|
RTD Readouts: ±2 ppm FS/°C |
|
|
TC Readouts: ±5 ppm FS/°C |
|
|
Current: ±5 ppm FS/°C |
|
|
Voltage: ±5 ppm FS/°C |
|
|
TC Measurement Specification and Calculation (Process Calibrator [PC] Option) |
||
|
TC Type |
Temperature (°C) |
Error (°C)[1] |
|
B |
250 |
±2 |
|
350 |
±1.44 |
|
|
660 |
±0.84 |
|
|
C |
0 |
±0.38 |
|
155 |
±0.34 |
|
|
350 |
±0.33 |
|
|
660 |
±0.38 |
|
|
0 |
±0.52 |
|
|
155 |
±0.37 |
|
|
350 |
±0.33 |
|
|
660 |
±0.36 |
|
|
E |
-40 |
±0.09 |
|
0 |
±0.09 |
|
|
155 |
±0.1 |
|
|
350 |
±0.13 |
|
|
660 |
±0.19 |
|
|
G |
0 |
±3.85 |
|
155 |
±0.71 |
|
|
350 |
±0.43 |
|
|
660 |
±0.36 |
|
|
J |
-40 |
±0.1 |
|
0 |
±0.1 |
|
|
155 |
±0.12 |
|
|
350 |
±0.16 |
|
|
660 |
±0.21 |
|
|
K |
-40 |
±0.13 |
|
0 |
±0.13 |
|
|
155 |
±0.16 |
|
|
350 |
±0.19 |
|
|
660 |
±0.25 |
|
|
L |
-40 |
±0.1 |
|
0 |
±0.1 |
|
|
155 |
±0.12 |
|
|
350 |
±0.16 |
|
|
660 |
±0.21 |
|
|
N |
-40 |
±0.2 |
|
0 |
±0.2 |
|
|
155 |
±0.19 |
|
|
350 |
±0.2 |
|
|
660 |
±0.24 |
|
|
R |
-40 |
±1.23 |
|
0 |
±0.95 |
|
|
155 |
±0.63 |
|
|
350 |
±0.56 |
|
|
660 |
±0.54 |
|
|
S |
-40 |
±1.16 |
|
0 |
±0.93 |
|
|
155 |
±0.65 |
|
|
350 |
±0.6 |
|
|
660 |
±0.6 |
|
|
T |
-40 |
±0.14 |
|
0 |
±0.13 |
|
|
155 |
±0.13 |
|
|
350 |
±0.15 |
|
|
400 |
±0.15 |
|
|
U |
-40 |
±0.14 |
|
0 |
±0.13 |
|
|
155 |
±0.13 |
|
|
350 |
±0.14 |
|
|
600 |
±0.17 |
|
|
[1] Excluding cold junction compensation errors. |
||
|
Secondary PRT Information |
||||
|
Specification |
AM1710 Series |
AM1730 Series |
AM1751 Series |
AM1760 Series |
|
Temperature Range [3] |
-60°C to 160°C |
-200°C to 420°C |
-200°C to 670°C |
-200°C to 670°C |
|
Resistance at 0°C |
Nominal 100Ω |
|||
|
Temperature Coefficient |
0.003925 Ω / Ω / °C |
|||
|
Calibrated Accuracy (k=2)[2][3] |
±0.025°C at -40°C |
±0.025°C at -40°C |
±0.025°C at -40°C |
±0.010°C at -196°C |
|
±0.015°C at 0.01°C |
±0.015°C at 0.01°C |
±0.015°C at 0.01°C |
±0.006°C at 0.01°C |
|
|
±0.025°C at 160°C |
±0.035°C at 420°C |
±0.035°C at 420°C |
±0.015°C at 420°C |
|
|
|
|
±0.05°C at 661°C |
±0.025°C at 661°C |
|
|
Drift |
±0.01°C at TPW after 100 hours at 160°C |
±0.01°C at TPW after 100 hours at 420°C |
±0.01°C at TPW after 100 hours at 661°C |
±0.004°C at TPW after 100 hours at 661°C |
|
Short Term Stability |
±0.007°C |
±0.002°C |
||
|
Thermal Shock |
±0.005°C after (10) thermal cycles from minimum to maximum temperatures |
±0.002°C after (10) thermal cycles from minimum to maximum temperatures |
||
|
Hysteresis |
<=0.005°C |
<=0.001°C |
||
|
Self-heating |
50 mW/°C |
0.0015°C at 0.5mA |
||
|
Response Time |
9 seconds for 63% response to step change in water moving at 3 feet per second |
|||
|
Measurement Current |
0.5 mA or 1 mA |
|||
|
Sensor Length |
32 mm |
42 mm |
||
|
Sensor Location |
5 mm from tip |
|||
|
Insulation Resistance |
>1000 MΩ at room temperature |
|||
|
Sheath Material |
Stainless Steel |
Inconeltm |
||
|
Dimension |
AM1710-12-ADT |
AM1730-12-ADT |
AM1751-12-ADT |
AM1760-12-ADT |
|
0.25 in dia X 12 in (6.35 mm X 305 mm) |
0.25 in dia X 12 in (6.35 mm X 305 mm) |
0.25 in dia X 12 in (6.35 mm X 305 mm) |
0.25 in dia X 12 in (6.35 mm X 305 mm) |
|
|
AM1710-BEND-ADT |
AM1730-BEND-ADT |
AM1751-BEND-ADT |
AM1760-BEND-ADT |
|
|
0.25 in dia X 12 in (6.35 mm X 305 mm), 90° bend at 7.4 inch (190 mm) from probe end |
0.25 in dia X 12 in (6.35 mm X 305 mm), 90° bend at 9.6 inch (245 mm) from probe end |
0.25 in dia X 12 in (6.35 mm X 305 mm), 90° bend at 9.6 inch (245 mm) from probe end |
0.25 in dia X 12 in (6.35 mm X 305 mm), 90° bend at 9.6 inch (245 mm) from probe end |
|
|
External Leads |
Teflontm –insulated copper wire, 4 leads, 0.8 meters |
|||
|
Handle Dimension |
15 mm (OD) x 65 mm (L) |
|||
|
Handle Temperature Range[1] |
-50°C to 160°C |
-50°C to 180°C |
||
|
Calibration |
NIST traceable calibration with data included. Accredited calibration available per request. |
|||
|
[1] Handle temperatures outside this range will cause damage to the probe. |
||||
|
[2] Includes calibration and 100 hour drift. |
||||
|
[3] Probe calibration ranges may differ from probe temperature ranges (see Calibrated Accuracy for calibration ranges). |
||||
|
*PRT Information from www.accumac.com |
||||
|
AM1612-ADT Secondary PRT Specifications |
|
|
Temperature Range |
-40°C to 160 °C |
|
Resistance at 0 °C |
Nominal 100 Ω |
|
Temperature Coefficient |
0.00385Ω/Ω /°C |
|
Accuracy |
±0.05°C at 0°C |
|
Drift |
±0.04°C at 0°C after 100 hours at 160°C |
|
Short Term Stability |
±0.02°C |
|
Thermal Shock |
±0.02°C after 10 times thermal cycles from minimum to maximum temperatures |
|
Hysteresis |
<= 0.01°C |
|
Self-heating |
75 mW/°C |
|
Response Time |
4 seconds for 63% response to step change in water moving at 3 feet per second |
|
Measurement Current |
1 mA |
|
Internal Sensor Length |
0.49" (15 mm) |
|
Dimension |
0.118" X 0.984" (3mm X 25mm) |
|
Insulation Resistance |
>1000 MΩ at room temperature |
|
Sheath Material |
Stainless Steel 316 L |
|
Dimension |
0.118 inch X 1.78 inch ( 3 mm X 45 mm ) |
|
External Leads |
Enameled copper wire protected by high temperature heat shrink tubing, 4 leads, 0.8 meters |
|
Calibration |
NIST traceable calibration with data provided |

|
Choose Your Own Range (Optional) |
|
|
Model |
Description |
|
9875-155-CYOR |
Range selection for ADT875- 155 Dry Well Calibrator, Customize Range |
|
9875-350-CYOR |
Range selection for ADT875- 350 Dry Well Calibrator, Customize Range |
|
9875-660-CYOR |
Range selection for ADT875- 660 Dry Well Calibrator, Customize Range |
|
Standard Accessories |
||
|
Model |
Quantity |
Picture |
|
Dry well and selected insert |
1 pc. |
 |
|
Power cable |
1 pc. |
 |
|
USB Cable |
1 pc. |
 |
|
Insert removal tool |
1 pc. |
 |
|
Thermal Shield (ADT875/PC-350/660 only) |
1 pc. |
 |
|
Silica gel plug (ADT875/PC-155 only) 1 |
1 set (3 pcs.) |
 |
|
Insulation plug (ADT875/PC-155 only) |
1 pc. |
 |
|
Test leads (ADT875PC only) |
2 sets (4 pcs.) |
 |
|
ISO 17025 Accredited calibration |
1 pc. |
|
|
CD Manual |
1 pc. |
|
|
Optional Accessories |
||
|
Model |
Description |
Picture |
|
9915-875 |
Carry Case for ADT875- 155/350/660 with wheels |
 |
|
ADT110-875-X-INSERT-X |
Insert for ADT875, see insert ordering information on the next page |
|
|
AM17XX-12-ADT |
Secondary PRT with dry well connector, see PRT information on the next page |
 |
|
AM17XX-BEND-ADT |
Bend Secondary PRT with dry well connector, see PRT information on the next page |
 |
|
9070 |
Smart connector for reference PRT used with ADT875 Dry Well Calibrator |
 |
|
9071 |
Connector Adapter from smart connector to 4-wire with goldplated spades for ADT875 Dry Well Calibrator |
 |
|
9072 |
Smart connector with clamps for reference PRT used with ADT875 Dry Well Calibrator |
 |
|
9080 |
Cable Kit (includes TC plug, compensation cable, S,R,B,K,J,T,E,N) |
 |

|
Insert Information |
|
|
Model |
Specification |
|
A |
 |
|
B |
 |
|
C |
 |
|
D |
 |
|
E |
 |
|
F |
 |
|
G |
 |
|
H |
 |
|
Z |
 |


|
Optional Accessories |
||
|
Model Number |
Description |
Product Picture |
|
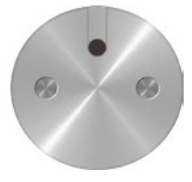
ADT110-875-L-SHRT-Z |
Spare Blank Insert |
 |
|
ADT110-878-L-SHRT-D |
Spare Blank Insert |
 |
|
AM1612-ADT |
Spare Short Style Secondary Reference Probe |
 |
|
Insert Types |
|
|
Type |
Product Picture |
|
3 mm dia. |
 |
|
4 mm dia. |
 |
|
6 mm dia. |
 |
|
1/8 in dia. |
 |
|
3/16 in dia. |
 |
|
1/4 in dia. |
 |
|
Documents and Links |
|
Software and Firmware |
|||
|
Name |
Versions |
Upload Date |
Size |
|
|
2021-11-18 |
12 MB |
|
|
|
2020-02-20 |
135 MB |
|
|
|
2020-02-20 |
49 MB |
|
Copyright @ Nexim BD 2021 All Rights Reserved.